Your WordPress site goes down at 2 a.m. on a Tuesday. A plugin update corrupted the database. Orders stopped processing two hours ago. Your hosting company’s support queue runs four hours deep.
Do you have a plan?
Most WordPress site owners don’t. They have a backup plugin installed and a vague intention to “restore if something goes wrong.” That’s not a plan. A business continuity plan (BCP) tells you exactly what to do, who does it, in what order, and how fast before the emergency starts.
This guide walks you through building one from scratch.
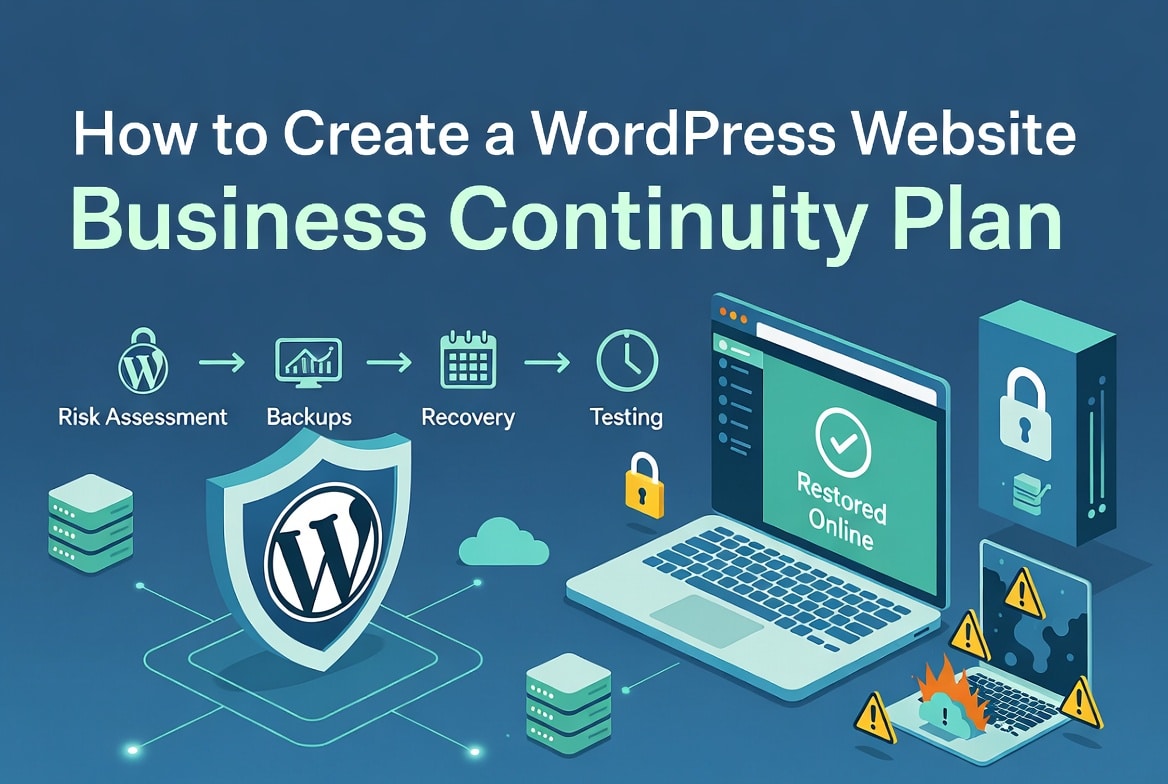
What Is a WordPress Business Continuity Plan?
A business continuity plan is a documented set of procedures that keeps your site operational or gets it back online fast when something breaks.
It covers three scenarios:
Prevention — the systems and processes you run daily to reduce the chance of failure
Response — what your team does in the first minutes and hours of an outage
Recovery — how you restore the site to full operation and verify nothing else broke
A BCP is not a disaster recovery plan, though the two overlap. Disaster recovery focuses on restoring systems after a catastrophic failure. Business continuity covers a wider range of disruptions, including partial outages, security incidents, traffic spikes, and personnel failures (your only developer quits without notice).
Why WordPress Sites Need a BCP
The numbers are sobering.
In a 2025 survey of 1,000 senior technology executives, every single respondent said their company lost revenue due to IT outages in the prior year. For small organizations, downtime now costs more than $25,000 per hour. Mid-sized companies lose upwards of $300,000 per hour.
Ransomware recovery takes more than three weeks on average and fewer than 7% of companies recover within a single day.
WordPress-specific threats compound these general risks:
- Plugin and theme updates break sites multiple times per year across millions of installs
- 7,966 new CVEs hit the WordPress ecosystem in 2024 many exploited within hours of disclosure
- Shared hosting environments go down without warning and without your control
- Human error (deleted tables, overwritten files, misconfigured redirects) causes as many outages as attacks
A WooCommerce store processing $5,000 per day can’t afford to wing it.
Step 1: Define Your Recovery Targets
Before you build anything, write down two numbers. These are the foundations of every decision that follows.
Recovery Point Objective (RPO) — How much data can you afford to lose? If your RPO is four hours, you need backups running at least every four hours. If a payment rolls in at 9 a.m. and your site crashes at noon, a four-hour RPO means you might lose that transaction record.
Recovery Time Objective (RTO) — How long can your site be offline before the damage becomes unacceptable? An e-commerce store processing thousands of orders daily might set RTO at one hour. A content blog might accept four hours or longer.
Set these based on your business, not what sounds good:
| Site Type | Suggested RPO | Suggested RTO |
|---|---|---|
| WooCommerce / high-traffic store | 15–60 minutes | 1 hour |
| Lead generation / SaaS marketing site | 1–4 hours | 2–4 hours |
| Content blog / brochure site | 24 hours | 4–8 hours |
| Internal tools / staging | 24 hours | Next business day |
Write these down. Every backup schedule, hosting decision, and failover plan you make should answer the same question: does this setup actually hit our RPO and RTO?
Step 2: Map Your Risk Landscape
List the specific things that can take your WordPress site offline. Then score each one on likelihood and business impact.
Technical failures
- Server crash or hardware failure at your host
- Database corruption from a failed update or disk error
- PHP version conflict after a host-side upgrade
- Plugin conflict after an update (one of the most common causes)
- WordPress core auto-update breaking a custom function
Security incidents
- Malware infection from a vulnerable plugin
- Brute-force attack locking out all admin accounts
- SQL injection corrupting or leaking the database
- Ransomware encrypting site files
- Compromised admin credentials
Human error
- Accidental deletion of posts, pages, or database tables
- Overwriting a production site with a staging site
- Misconfigured .htaccess taking down the whole site
- Deleting a critical plugin that other plugins depend on
External dependencies
- CDN failure (Cloudflare, BunnyCDN) affecting asset delivery
- DNS provider outage making the domain unreachable
- Payment gateway downtime (Stripe, PayPal) breaking checkout
- Third-party API failure affecting forms, bookings, or integrations
- Hosting provider outage (even managed WordPress hosts go down)
Traffic events
- Viral traffic spike exceeding server capacity
- DDoS attack saturating bandwidth
- A product launch sending 10x normal traffic
Score each risk. High likelihood + high impact = address first. Low likelihood + low impact = acknowledge and move on. Build your plan around the top six to eight risks for your specific site.
Step 3: Build Your Backup System
Backups are the core of every BCP. A backup you’ve never tested is not a backup- it’s a file that may or may not restore your site.
The 3-2-1 Rule
Keep three copies of your data, on two different types of storage, with one copy offsite.
For WordPress, this means:
- Copy 1: Your hosting provider’s server (included in most managed plans)
- Copy 2: Cloud storage you control — Amazon S3, Backblaze B2, or Google Drive
- Copy 3: A separate geographic region or offline archive
What to Back Up
Don’t just back up your files. Your WordPress site has four distinct components, and you need all four:
Database — all your posts, pages, users, orders, settings, and plugin data. For WooCommerce stores, run database backups every 15–60 minutes. For content sites, daily is usually enough.
WordPress files — wp-content (themes, plugins, uploads), wp-config.php, and any custom files in the root. Back these up daily for most sites.
Media uploads — your /wp-content/uploads/ folder can grow to gigabytes. Back it up daily, but check whether your backup plugin stores it separately.
Configuration files — .htaccess, php.ini, nginx.conf, SSL certificates, and DNS zone exports. These rarely change but take hours to reconstruct without a backup.
Use Backup Plugins
UpdraftPlus — The most widely deployed WordPress backup plugin. Free tier handles scheduled backups to Dropbox, Google Drive, S3, or FTP. The paid version adds incremental backups, multisite support, and migration tools.
Solid Backups (formerly BackupBuddy) — Strong restore workflow and staging features. Works well for agencies managing multiple sites.
WP Time Capsule — Specializes in incremental backups. Only backs up files that changed since the last run, which dramatically cuts storage costs for large sites.
JetBackup — Popular at the hosting level. If your host runs cPanel or DirectAdmin, check whether JetBackup is already running server-side backups you can combine with a plugin-level solution.
Never Rely Solely on Your Host’s Backups
Every managed WordPress host (WP Engine, Kinsta, Flywheel, Pressable), shared hosting (Spaceship) runs automatic backups. Don’t treat those as your only copy. Hosting accounts get compromised, suspended, or accidentally deleted. Your backup needs to live somewhere your host cannot reach.
Step 4: Set Up Your Monitoring System
You can’t respond to an outage you don’t know about. Set up monitoring before you need it.
Uptime Monitoring
UptimeRobot — Free plan checks your site every five minutes and sends email, SMS, or Slack alerts when it goes down. Paid plans check every 30 seconds.
Better Uptime — Sends alerts with screenshots of what the error page looks like. Useful for distinguishing “site is down” from “site shows a white screen of death.”
Freshping — Free for up to 50 monitors with one-minute checks. Good for monitoring multiple pages, not just the homepage.
Set alerts for:
- Site going offline (any HTTP status other than 200)
- SSL certificate expiring within 14 days
- Response time exceeding your threshold (e.g., more than 3 seconds)
- Domain expiring within 30 days
Security Monitoring
Wordfence — Monitors file changes, login attempts, and known malware signatures. Sends alerts when something changes in your core files.
Sucuri SiteCheck — Scans your site against blacklists and checks for visible malware. Run this monthly and after any security incident.
WP Activity Log — Tracks every admin action. Useful for investigating what changed before an outage.
Performance Monitoring
Query Monitor — A free plugin that shows database query times, PHP errors, and slow hooks. Run this in your staging environment after every major update.
New Relic or Datadog — For high-traffic sites, these give you server-level metrics: memory usage, CPU spikes, database query volume. Worth the cost if your site drives significant revenue.
Step 5: Harden Against the Most Common Failures
A BCP prevents failures as much as it recovers from them. Harden your site against the top risks you identified in Step 2.
Plugin and Theme Updates
Updates cause more WordPress outages than attacks do. Manage them carefully:
- Use a staging environment. Every serious WordPress host offers one-click staging. Test every update in staging before pushing to production.
- Update one plugin at a time. Batch updates hide which plugin caused a conflict.
- Take a manual backup before major updates. Even if your backup plugin runs daily, take an on-demand backup before updating WooCommerce, Elementor, or any plugin your site depends on.
- Enable visual regression testing. Tools like WP Sandbox or the WP Engine Smart Plugin Manager take a screenshot before and after each update and flag visual differences.
Security Hardening
These settings belong in every WordPress BCP:
- Force strong passwords across all user accounts (Wordfence includes this)
- Enable two-factor authentication for all admin and editor accounts
- Limit login attempts (three failed attempts triggers a lockout)
- Change the default /wp-admin/ login URL using a plugin like WPS Hide Login
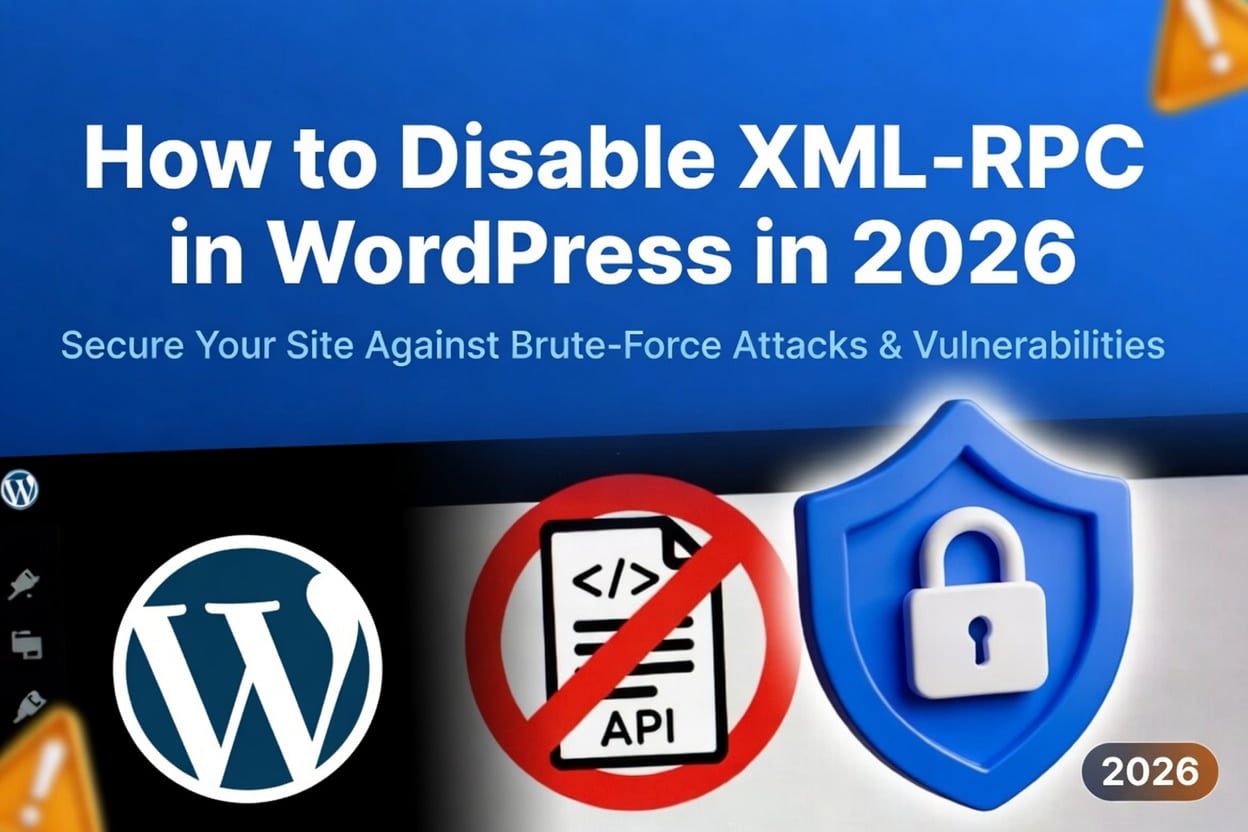
- Disable XML-RPC if you don’t use it (common attack vector)
- Run the WordPress auto-update system for security releases — never disable it
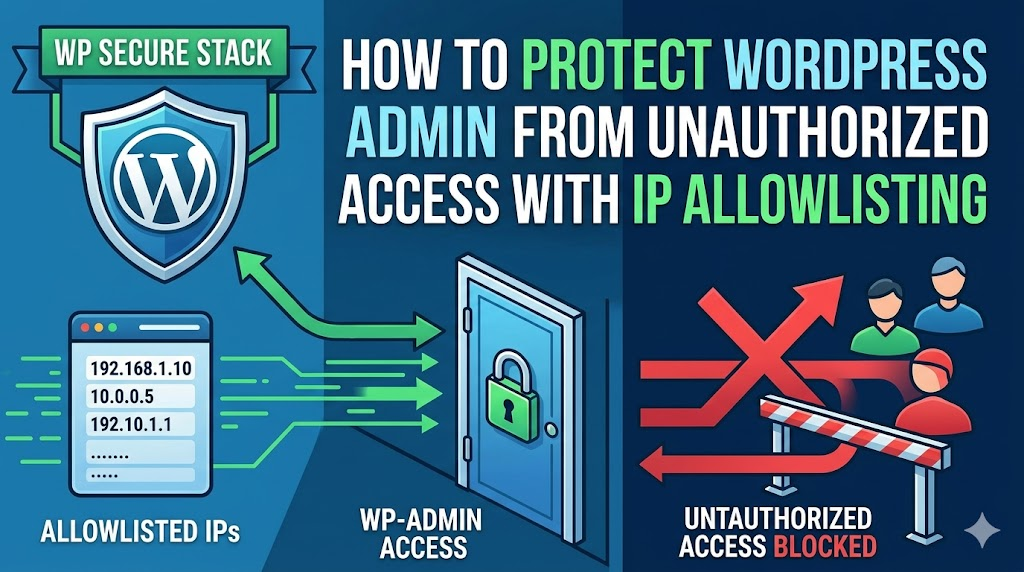
- Keep a dedicated IP address whitelist for wp-admin access if your team works from fixed IPs
Hosting Redundancy
Your host is a single point of failure. Reduce that exposure:
- Choose a host with a documented 99.9%+ uptime SLA and actual track record
- Use a CDN (Cloudflare is free) to serve cached pages even when your origin server is down
- For critical sites, consider a failover host. Some agencies keep a warm standby on a second host with a recent database import, ready to flip DNS within minutes
Step 6: Write Your Incident Response Runbook
A runbook is a step-by-step document your team follows during an outage. Write it before the emergency. During the emergency, no one thinks clearly enough to improvise well.
Runbook Template
Incident detected:
- Who receives the first alert? (uptime monitor → person’s name)
- What do they check first? (hosting dashboard, then Cloudflare, then server error logs)
First 15 minutes:
- Confirm the site is actually down (check from a different network, not just your office connection)
- Check your hosting dashboard for server-side alerts
- Check Cloudflare or your CDN for incident reports
- Check your error log at /wp-content/debug.log (enable WP_DEBUG if not already on)
- Note the time the outage started and what changed in the past 24 hours
Diagnosis checklist:
- Did any plugin or theme update run in the last 6 hours? (check WP Activity Log)
- Did any scheduled task run before the outage? (cron jobs, imports)
- Does the database respond? (check via phpMyAdmin or your host’s dashboard)
- Does the site load with all plugins disabled? (rename /wp-content/plugins/ temporarily)
- Does the white screen disappear when you switch to a default theme?
Recovery actions (in order):
- If a plugin caused it: deactivate via FTP or phpMyAdmin, then reactivate all others
- If a theme caused it: switch to Twenty Twenty-Four via the database
- If the database is corrupted: restore from the most recent backup
- If malware: run Wordfence scan, isolate and remove infected files, change all credentials
Restore from backup (when needed):
- Log into your backup plugin dashboard
- Select the most recent backup before the incident
- Restore to staging first and verify the site loads
- Restore to production
- Check WooCommerce orders, forms, and critical functionality
- Verify SSL certificate still works
- Monitor error logs for 2 hours post-restore
Post-incident:
- Document what failed, why, and what fixed it
- Update the runbook if a new failure mode appeared
- Schedule a post-mortem within 48 hours
Who Does What
Write names, not job titles. “The developer” is useless at 2 a.m. when you’re panicking.
| Role | Person | Contact | Backup Contact |
|---|---|---|---|
| First responder | [Name] | [Phone] | [Name / Phone] |
| Hosting access | [Name] | [Phone] | [Name / Phone] |
| DNS / domain access | [Name] | [Phone] | [Name / Phone] |
| Client/stakeholder communication | [Name] | [Phone] | [Name / Phone] |
Store this document somewhere everyone can access it even when the website is down. A shared Google Doc, Notion page, or printed copy in the office all work. Don’t store it only on the WordPress site itself.
Step 7: Set Up a Maintenance Page
When your site goes down, visitors see an error. A maintenance page keeps your brand intact and buys you time without panic.
Cloudflare Workers — Free. Set up a custom maintenance page that Cloudflare serves from its edge network even when your origin server is completely offline. Takes about 20 minutes to configure.
WP Maintenance Mode plugin — Works when WordPress itself is running but you need to hide the site during updates or fixes.
Hosting-level redirect — Most managed WordPress hosts let you redirect your domain to a status page while they work on the server.
Your maintenance page should include:
- A plain-language message (don’t say “503 service unavailable”)
- Your expected restoration time
- A contact email or phone number for urgent needs
- Your social media handles where you’ll post updates
Step 8: Plan for Traffic Spikes
Traffic spikes take down more WordPress sites than most owners realize. A product launch, press mention, or viral social post sends ten times your normal traffic — and shared hosting collapses under the load.
Switch to managed WordPress hosting. Hosts like WP Engine, Kinsta, and Pressable auto-scale resources during spikes. Shared cPanel hosting does not.
Implement full-page caching. WP Rocket, Breeze, or LiteSpeed Cache serve static HTML to most visitors without touching PHP or the database. A properly cached WordPress site handles 10x traffic with almost no additional server load.
Add Cloudflare. Even the free tier caches static assets at the edge and absorbs a significant portion of traffic before it reaches your server. The Pro tier adds DDoS protection.
Use a CDN for media. Move your /wp-content/uploads/ to a CDN like BunnyCDN. Each image request goes to the edge, not your server.
Set up a load test. Tools like k6 or Loader.io simulate 500 or 1,000 concurrent users. Run this before a major product launch so you know exactly where your site breaks.
Step 9: Test Everything
A plan you’ve never tested is a guess. Test your BCP before you need it.
Restore Test (Every 90 Days)
Pick a date, take your most recent backup, and restore it to a staging environment. Verify:
- The site loads completely
- WooCommerce or your key plugin functions correctly
- Contact forms submit successfully
- Admin login works
- No PHP errors appear in the debug log
Document what you found and how long the restore took. If it took three hours, and your RTO is two hours, you have a gap to close.
Failover Test (Annually)
If you have a failover host or CDN-based maintenance page, test the DNS switch. How long does it take for changes to propagate? Most DNS records propagate within five minutes with a 300-second TTL, but some ISPs cache longer.
Security Incident Drill (Annually)
Simulate a malware infection on your staging site. Walk through your runbook. Time how long it takes to detect, diagnose, clean, and restore. You’ll find gaps you didn’t know existed.
Update Testing (Before Every Major Update)
Before pushing any major plugin or theme update to production:
- Clone to staging
- Apply the update
- Run through your critical user flows (checkout, form submission, login)
- Compare screenshots before and after
Step 10: Document and Maintain the Plan
A BCP that lives in one person’s head fails the moment that person is unavailable.
Document these items and store them somewhere accessible to your whole team:
Credentials inventory (stored in a password manager like 1Password or Bitwarden, never in a document):
- WordPress admin login
- Hosting control panel login
- FTP/SFTP credentials
- Database credentials
- Domain registrar login
- DNS provider login
- CDN / Cloudflare login
- SSL certificate provider
- Backup storage credentials (S3, Google Drive)
Infrastructure inventory:
- Current hosting provider and plan
- WordPress version and PHP version
- List of all active plugins with version numbers
- Theme name and version
- All third-party API integrations and their fallback behavior when offline
Contact list:
- Hosting support number and average response time
- Your developer’s emergency contact
- Your agency or support plan contact
- Domain registrar support
Review schedule:
- Review the full BCP every six months
- Update the credentials inventory whenever anyone leaves the team
- Update the plugin/theme inventory after every major update cycle
WordPress BCP Checklist
Use this as your starting point. Check each item off as you implement it.
Backup and Recovery
- [ ] Defined RPO and RTO for this site
- [ ] Backup plugin configured with automated schedule
- [ ] Backups stored in at least two locations (host + offsite cloud storage)
- [ ] Database backup frequency matches RPO
- [ ] Performed a full restore test within the last 90 days
- [ ] Backup restore time falls within RTO
Monitoring and Alerts
- [ ] Uptime monitor active with SMS or phone call alerts
- [ ] SSL certificate expiry monitoring active
- [ ] Domain expiry monitoring active
- [ ] Security monitoring active (Wordfence or Sucuri)
- [ ] Error logging enabled (WP_DEBUG_LOG = true in staging)
Security Hardening
- [ ] Two-factor authentication on all admin accounts
- [ ] Login attempt limits configured
- [ ] XML-RPC disabled (if not in use)
- [ ] WordPress core auto-updates enabled for security releases
- [ ] All plugins and themes updated to latest versions
Hosting and Infrastructure
- [ ] Staging environment available for update testing
- [ ] CDN or Cloudflare configured
- [ ] Full-page caching plugin active
- [ ] Maintenance page configured and tested
Documentation and Team
- [ ] Incident response runbook written and stored offsite
- [ ] Credentials stored in a shared password manager
- [ ] Infrastructure inventory documented and current
- [ ] Emergency contact list complete with backups for each role
- [ ] BCP review date scheduled
How Often to Review Your BCP
Review the full plan every six months. Also trigger a review after:
- Any outage that took longer than your RTO to resolve
- A significant change in plugins, theme, or hosting
- A team member with site access joins or leaves
- A major WordPress version update (6.x to 7.x)
- A security incident, even a minor one
The Minimum Viable BCP for Small Sites
If you run a personal blog or small brochure site and the full plan above feels like overkill, implement at least these five things:
- Install UpdraftPlus and schedule daily backups to Google Drive
- Sign up for UptimeRobot (free) so you get an email when the site goes down
- Enable Cloudflare (free) on your domain
- Write down your hosting, domain registrar, and WordPress admin credentials and store them in a password manager
- Do a restore test — right now, before you close this tab
Those five steps put you ahead of most WordPress site owners.
Key Takeaways
- A BCP covers prevention, response, and recovery — not just backups
- Set your RPO and RTO first; every other decision follows from those numbers
- The 3-2-1 backup rule means three copies, two storage types, one offsite
- A backup you’ve never restored is not a working backup
- Write a runbook with real names and phone numbers before you need it
- Plugin updates cause more outages than attacks — test every update in staging
- Review the plan every six months and after every incident
Recommended Tools
| Category | Tool | Cost |
|---|---|---|
| Backups | UpdraftPlus | Free / $70/yr |
| Backups | Solid Backups | $99/yr |
| Uptime monitoring | UptimeRobot | Free / $7/mo |
| Security scanning | Wordfence | Free / $99/yr |
| Staging | WP Engine / Kinsta | Included with hosting |
| Caching | WP Rocket | $59/yr |
| CDN + DDoS | Cloudflare | Free / $20/mo |
| Activity logging | WP Activity Log | Free / $99/yr |
| Password manager | 1Password | $3/mo |
Your BCP is only as good as your last test. Schedule your first restore test today.


Leave a Reply